

The Fermented Zucchini Recipe is a unique way to preserve zucchini. I like this method because it is simple, safe, and tasty, and the lacto-fermentation process is so beneficial to our health. I love using this recipe a lot during the abundance of vegetables in Summer.
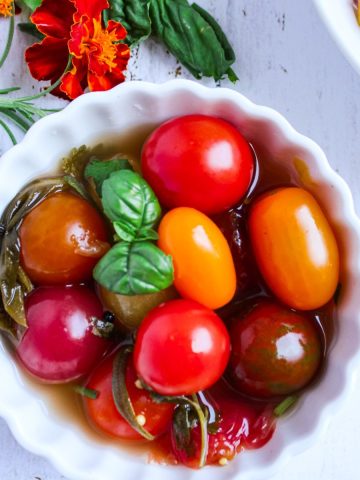
If you have abundant zucchini harvests and you are looking for ideas to preserve them, then you are on the right page. I grow tons of zucchini than I need so I could preserve them using Lacto-fermentation. Have you checked my fermented cherry tomatoes yet? Fermented veggies are so good!
Ingredients
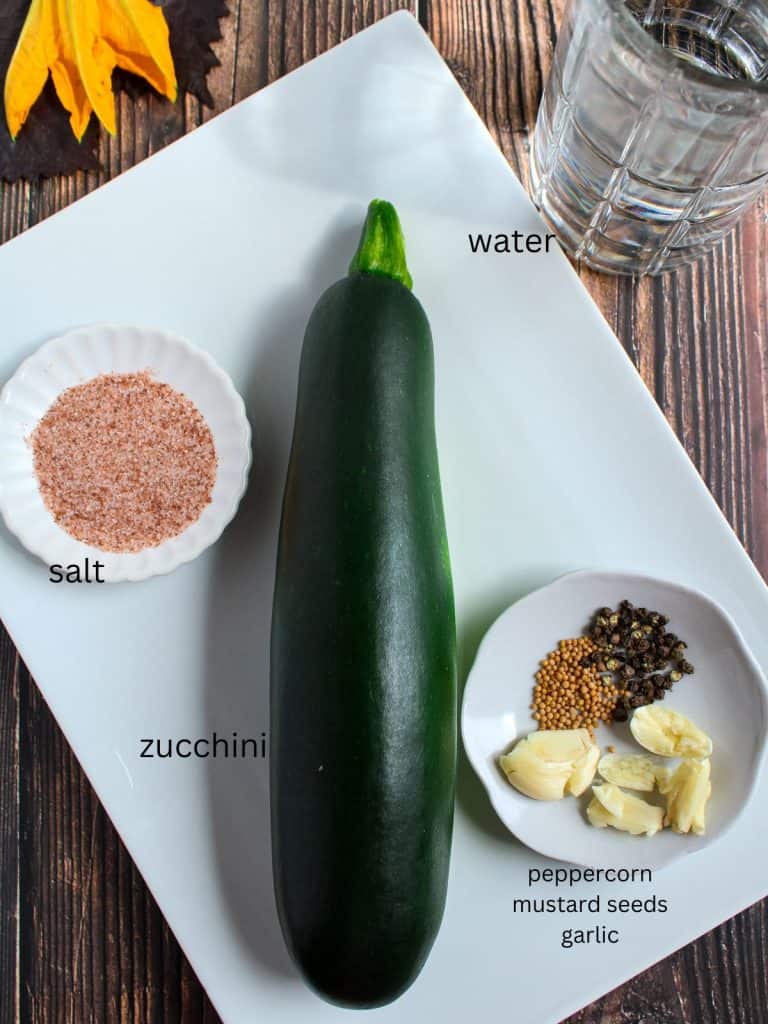
The ingredients are pretty basic and minimal. These are easily accessible, and I made a few helpful notes for you.
- Zucchini - Fresh zucchini from your backyard, farmer's market, or even local grocery stores will work too.
- Herbs and spices - I added peppercorn, mustard seeds, and garlic. Adding herbs and spices can enhance the flavor and provide an aromatic taste.
- Himalayan salt or sea salt - You can use any type of salt except iodized salt.
- Chlorine-free water - It's best to use clean chlorine-free water for optimal results.
Instructions
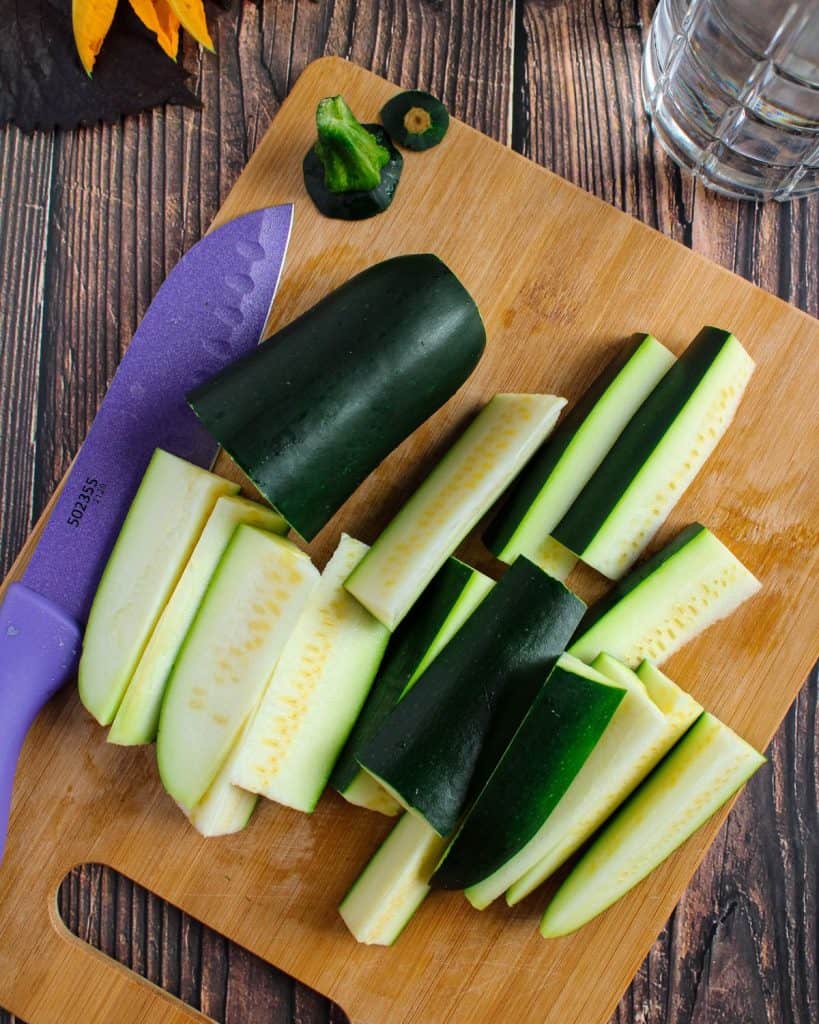
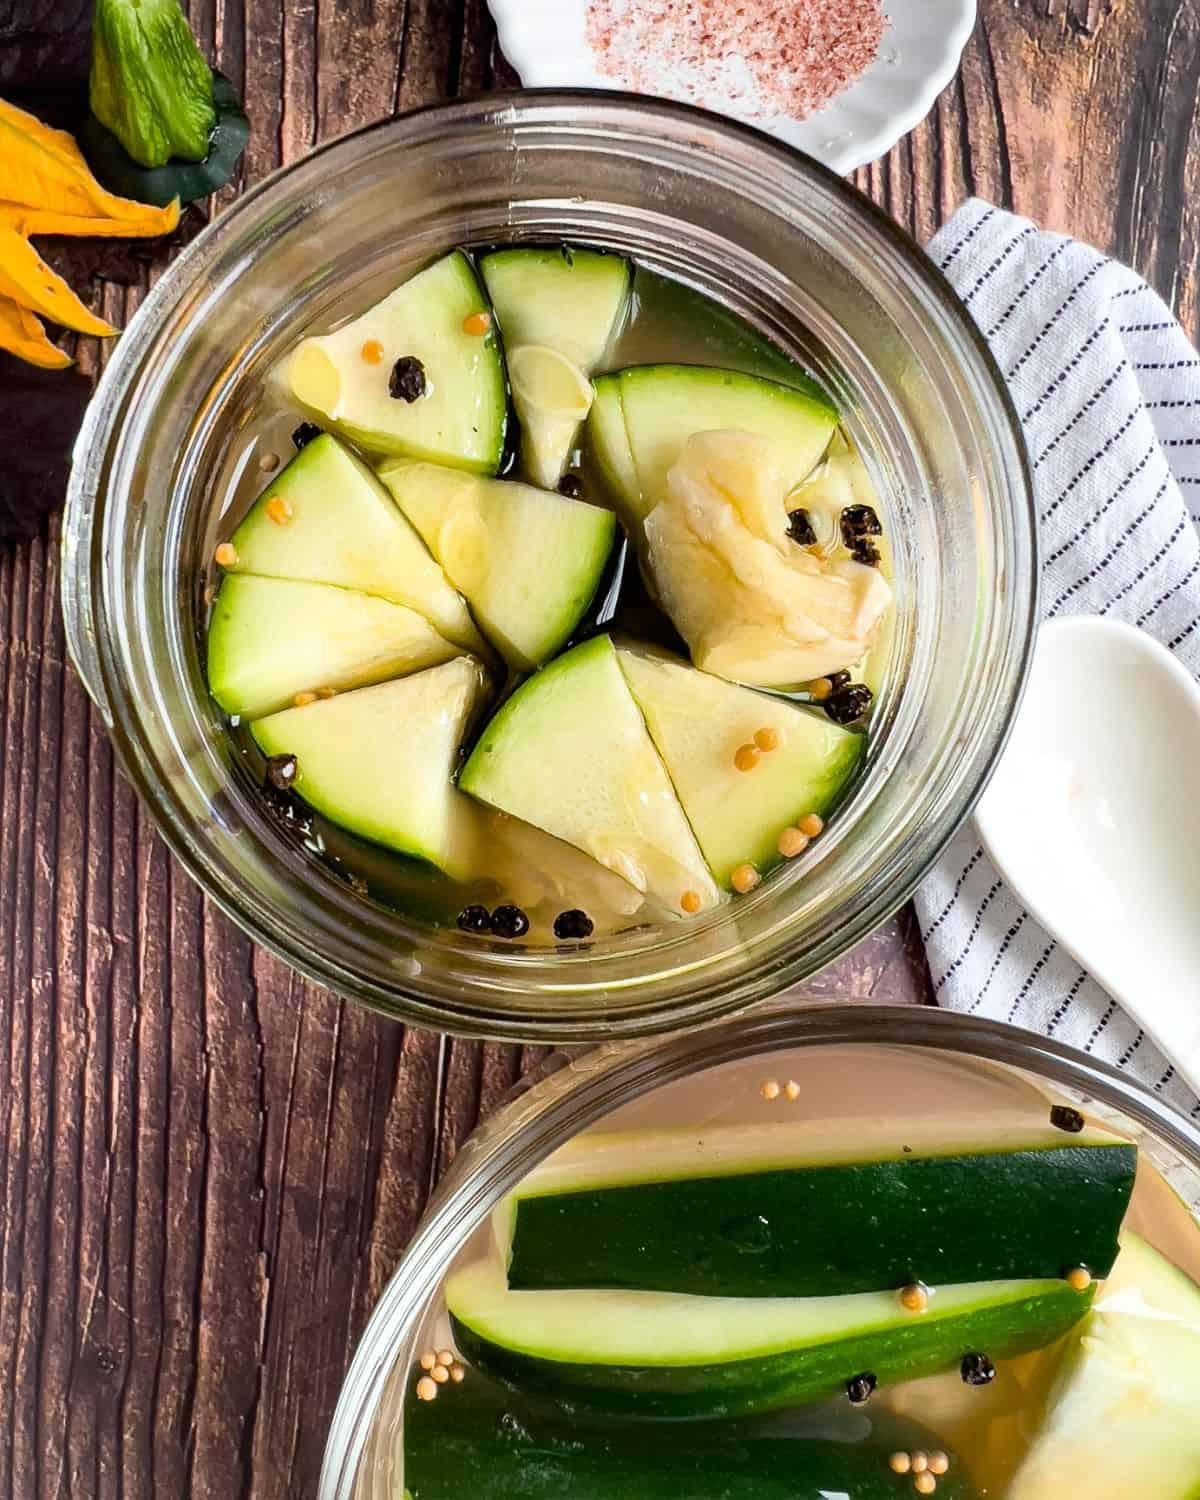
Step 1. Wash and slice or grate the zucchini into your desired shape and thickness. Slices or thin strips work well for most fermentation recipes.
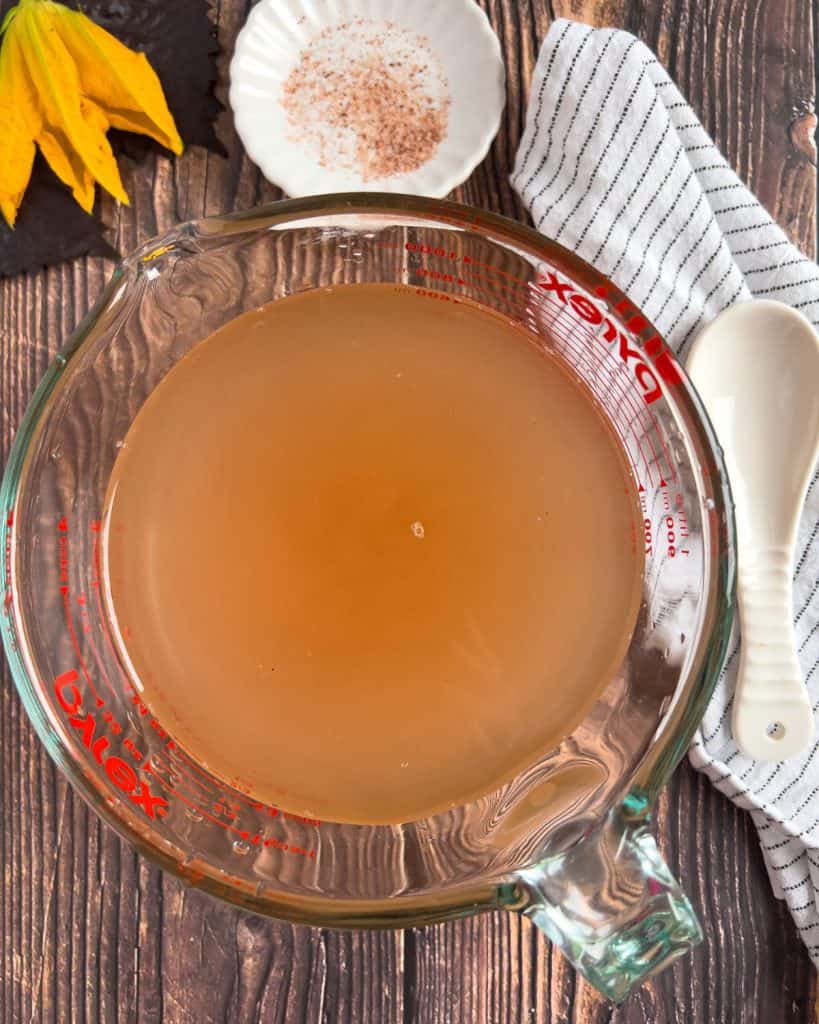
Step 2. Prepare the brine solution by dissolving approximately 1 tablespoon of Himalayan salt per 2 cups of chlorine-free water. You can adjust the salt quantity according to you're desired taste.
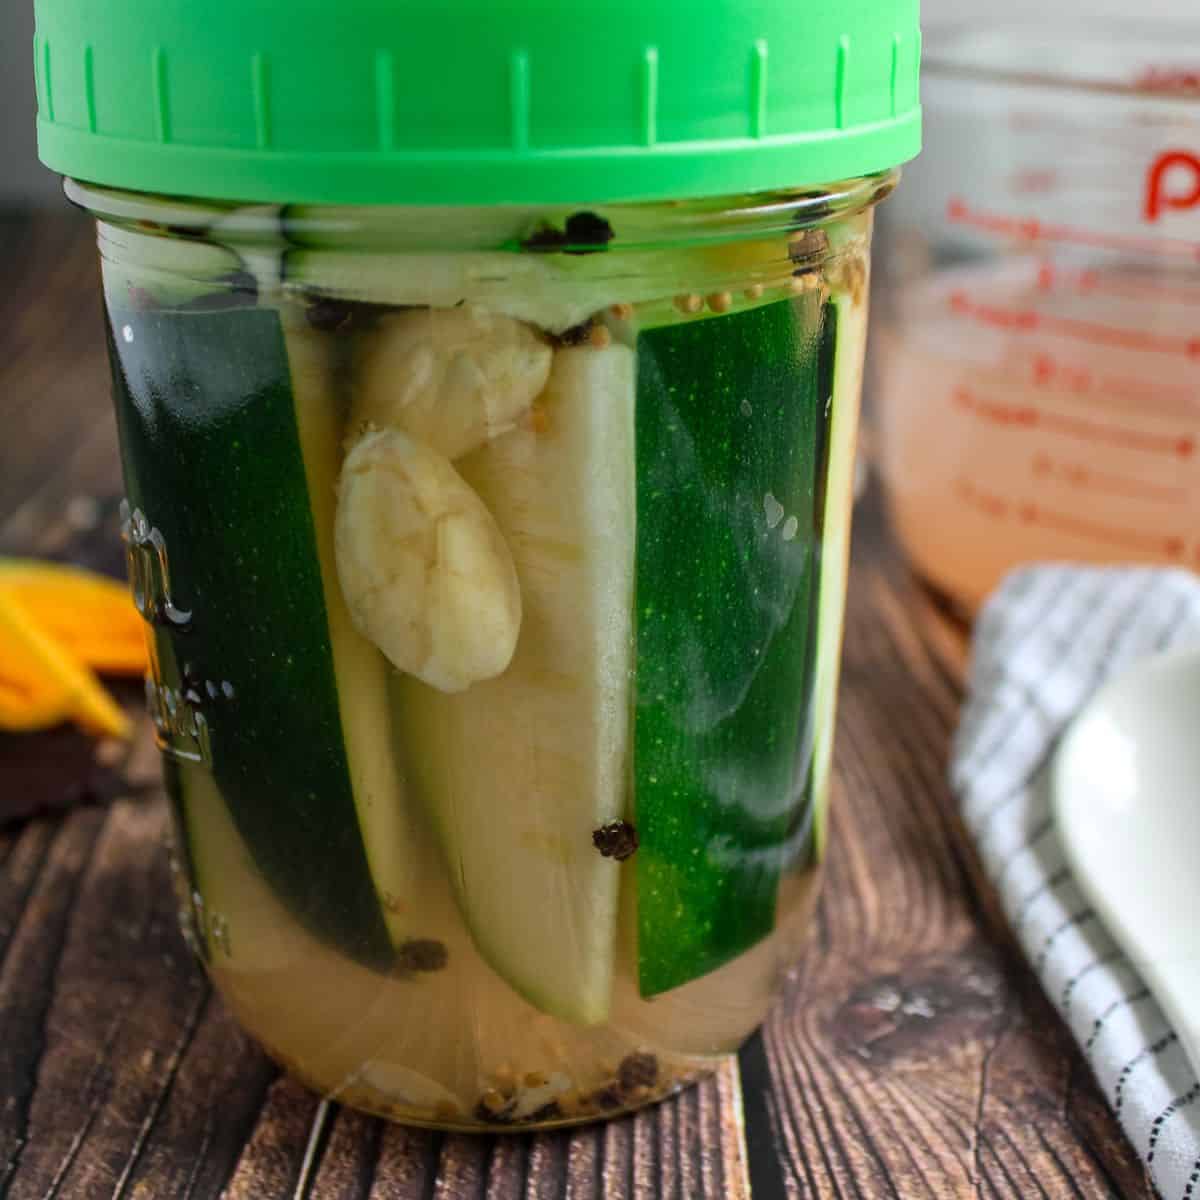
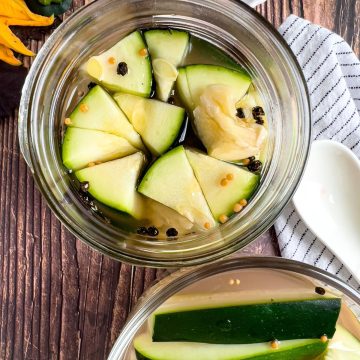
Step 3. Place the herbs, spices (if using any), and sliced zucchini in a clean glass jar and pour the brine solution over it. Make sure that the zucchini is fully submerged in the brine. Leave some headspace (about 1 inch) at the top of the jar to accommodate any expansion during fermentation.
Step 4. Add a weight and cover the jar with a clean cloth or lid. Let the zucchini ferment at room temperature for a few days. Preferably away from direct sunlight.
Step 5. Once your zucchini is fermented, transfer the jar to the refrigerator for storage. The chilled temperature will slow down the fermentation process and help the zucchini's flavor and texture.
Variations
- Make it spicy - Adding fresh serrano pepper or red chili flakes can spice up this fermented vegetable.
- Make it colorful - Add different types of colorful yellow and green zucchini. You can also add carrots, cucumbers, and cabbage to your fermented zucchini recipe. Just be sure that the vegetables you're adding are suitable for fermentation and have a similar texture.
Why I think you will love this recipe
- The fermentation process of vegetables is much easier, simpler, and healthier than canning. Fermented zucchinis are not cooked, and enzymes are not destroyed compared to canning.
- It is rich in probiotics, which are beneficial bacteria that support a healthy gut microbiome. Consuming probiotics (lactobacillus) through fermented foods can improve digestion, strengthen the immune system and promote overall gut health.
- If you want to check out more gut health recipes, check out my Fermented Cherry Tomato Recipe, Easy Korean Kimchi Recipe, and Fermented Pineapple Tepache Recipe. To learn more about healthy living, check the Best Probiotic Supplements for Gut Health.
Helpful Tips
- Ensure that all equipment, including jars, lids, weights, and utensils, are thoroughly cleaned and sterilized. This helps create a favorable environment for fermentation and reduces the Irish of unwanted microbial growth.
- Always use chlorine-free water when fermenting vegetables. If using tap water, let it sit uncovered for a few hours up to overnight to let the chlorine evaporate. You can also use filtered or bottled spring water.
- Fermentation is influenced by temperature, so try to keep the fermentation vessel in a relatively stable environment. Aim for a temperature range of 65F to 75F (18C-24C) for the best result. Avoid placing the jar in direct sunlight or in areas that experience extreme temperature fluctuations.
- It is crucial that the ingredients are fully submerged under the brine throughout the fermentation process. This prevents exposure to air and helps prevent mold growth. Use a fermentation weight or food-grade object to weigh down the zucchini and keep it submerged.
Frequently Asked Questions
Fermentation is the chemical breakdown of a substance by bacteria, yeasts, or other microorganisms. Fermentation also promotes the growth of beneficial bacteria, known as probiotics
Absolutely yes! Fermented foods are one of the healthiest food you can add to your diet. In fact, there is a study comparing a high fiber-rich diet and a fermented-rich diet, and a fermented-rich diet is outstanding!
According to some research, it is rich in Vitamin A, manganese, vitamin C, potassium, magnesium, vitamin K, folate, copper, phosphorus, vitamin B6, and thiamine.
High in anti-oxidant.
Improves digestion
Contribute to normal blood sugar and blood pressure levels.
Improve heart health
Improve your vision
The fermentation time for zucchini can vary depending on factors such as temperature, desired flavors, and texture. Typically, it takes anywhere from a few days to a couple of weeks. You can taste them to check. For extra sour flavor, you can ferment zucchini for a few more days or so.
Fermented zucchini should have a pleasant tangy and slightly sour smell and taste. However, if you notice any foul or unpleasant odors, sliminess, mold growth, or significant discoloration, it may indicate spoilage! If this is your case, discard them to avoid potential foodborne illnesses.
The tangy and slightly sour taste that develops during fermentation can elevate the natural sweetness of the vegetable, making it more enjoyable and interesting to eat.
More Gut-Healthy Recipes:


Fermented Zucchini Recipe
Equipment
Ingredients
- 2-3 pounds zucchini sliced into spears
- 2 cups clorine-free water
- 1 tablespoon Himalayan pink salt
- 2 cloves garlic smashed
- 1 teaspoon mustard seeds
- 1 teaspoon peppercorn
Instructions
- Wash your zucchini in cold water. Slice your zucchini. You can slice them into spears, chips, or spirals.
- Make the brine by dissolving the salt in the water. The ratio I use is 1:2, 1 tablespoon of salt into 2 cups of water. Use chlorine-free water. Chlorinated water for fermentation will slow or stop the growth of the beneficial lacto-bacteria and yeasts.
- Pack the garlic, mustard seeds, peppercorn, and zucchini tightly into your jars and cover them with brine, leaving about 1 inch of headspace. The brine should cover the vegetables at all times, or else they may start to develop mold and your ferment may be ruined. So long as they remain under the anaerobic safety of the brine, they’ll be fine.
- Secure the mason jar lid to the mason jar (but not too tightly in order to let some of the fermentation gasses escape) and set in a location at room temperature, out of direct sunlight.
- Let the fermentation begin. You can see bubbles will start to form after 72 hours, as a good sign.
- Once your zucchini is fermented, transfer the jar to the refrigerator for storage. The chilled temperature will slow down the fermentation process and help the zucchini's flavor and texture. Enjoy!
Notes
Recipe Notes
- Make sure all the ingredients are submerged into the brine to prevent mold, especially for the first 3 days. Use cabbage leaves or fermenting lids that you can find in the store to push down the zucchini into the brine. So long as they remain under the anaerobic safety of the brine, they’ll be safe.
- For extra sour flavor, keep your fermentation process for up to a few more days and then store it in the fridge.
- Adjust your salt quantity according to your preference but don't omit it.
- Try to experiment with herbs and spices.


Leave a Reply